This post describes how to install Semi-Automatic Classification Plugin (SCP) from the official GitHub repository (master).
I often release SCP updates to the GitHub repository that provides always the latest SCP version for download. You can read the changelog of new versions from here.

In case you need a new version of SCP before the availability thereof in the QGIS repository, you can add the SCP repository to QGIS and install the master version. Moreover, this master version in the SCP repository can be installed along with the version available in the QGIS repository.
In order to install the SCP repository follow these steps:I often release SCP updates to the GitHub repository that provides always the latest SCP version for download. You can read the changelog of new versions from here.
In case you need a new version of SCP before the availability thereof in the QGIS repository, you can add the SCP repository to QGIS and install the master version. Moreover, this master version in the SCP repository can be installed along with the version available in the QGIS repository.
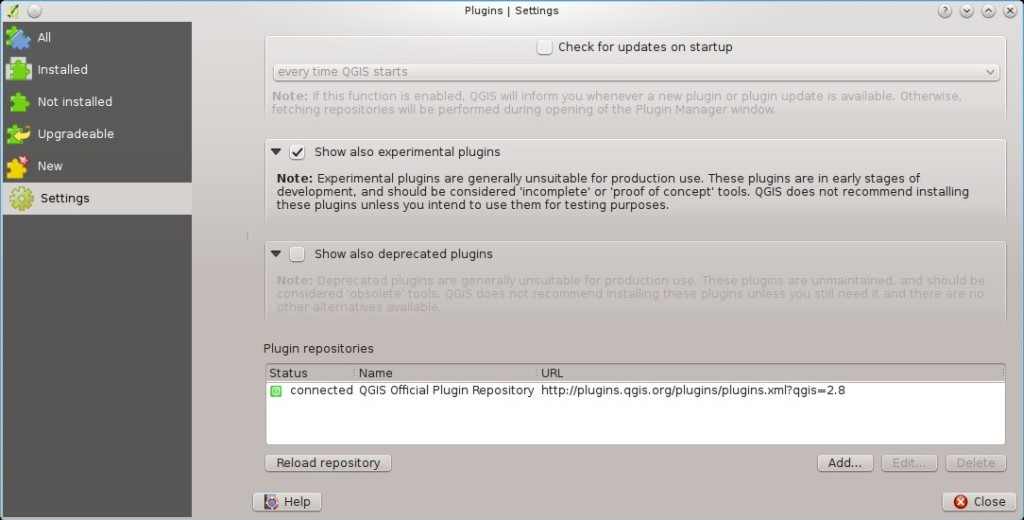
1. Run QGIS, from the main menu select Plugins > Manage and Install Plugins;

2. Click Settings then click the button Add;
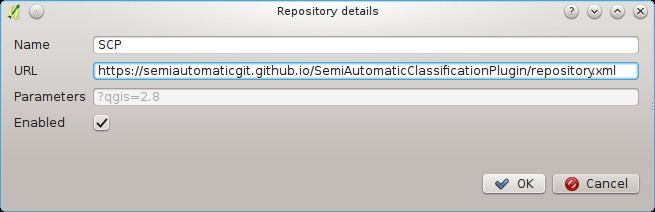
3. Inside the Repository details enter:
Name:
SCP
URL:
https://semiautomaticgit.github.io/SemiAutomaticClassificationPlugin/repository.xml
and click OK;
4. After the repository update, the item Semi-Automatic Classification Plugin - master should be listed with the other plugins;
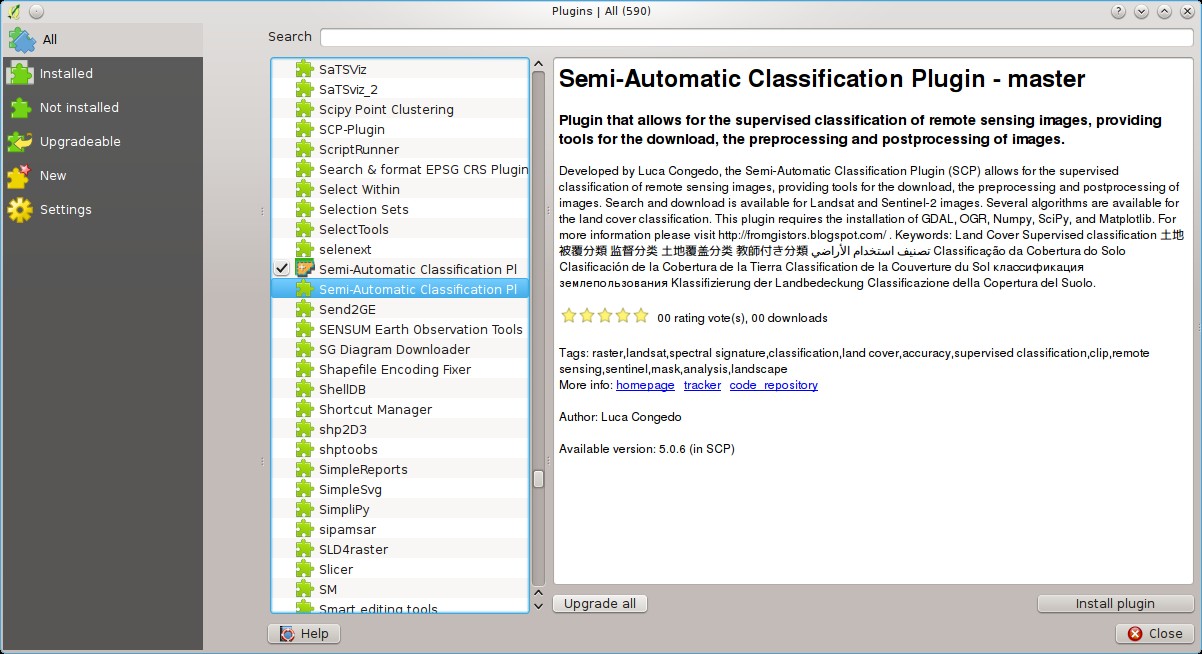
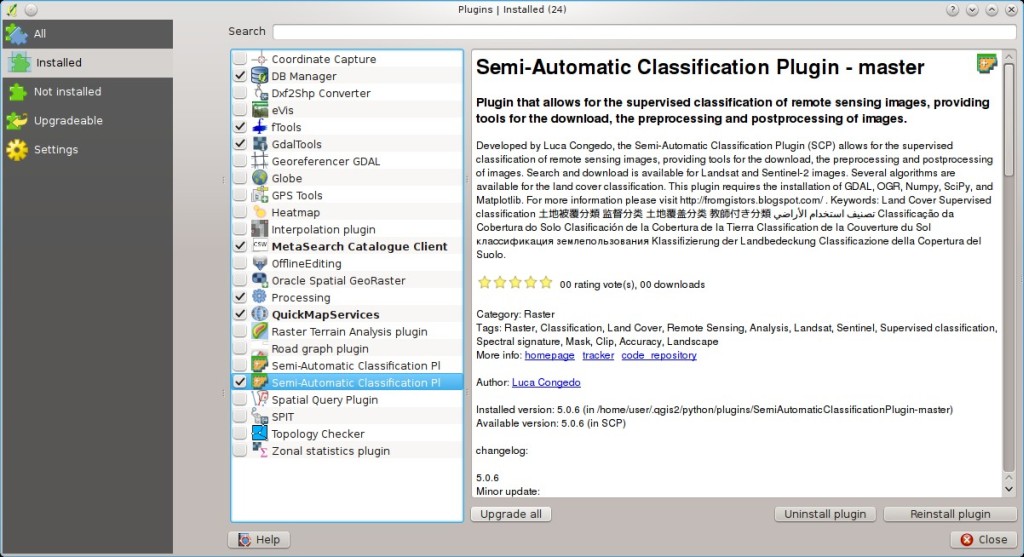
5. From the menu All, select the Semi-Automatic Classification Plugin - master and click the button Install plugin; the latest version of SCP should be automatically activated (ignore errors, the restart of QGIS could be necessary to complete the SCP installation); it is possible to deactivate the other SCP installed in the QGIS repository;
This master version can be useful if you need a fix or a new function that is still not available from the QGIS repository.
For any comment or question, join the Facebook group and the Google+ Community about the Semi-Automatic Classification Plugin.